- Simple to use Windows program
- 10 different ticket sizes
- Silent Auction Cards
- Bucket Raffle Tickets
- Consecutive numbering
- Print serially or in booklet format
- Print “where you left off” if necessary
- Rotate layouts vertically or horizontally
- Use theater seating with sections, rows, seats
- “Select a Winner” feature
- Templates and samples for all formats
- Built in User Guide with Index
- Backup and Restore features
- Includes 100s of graphics
- Download Version Only
Printing Software
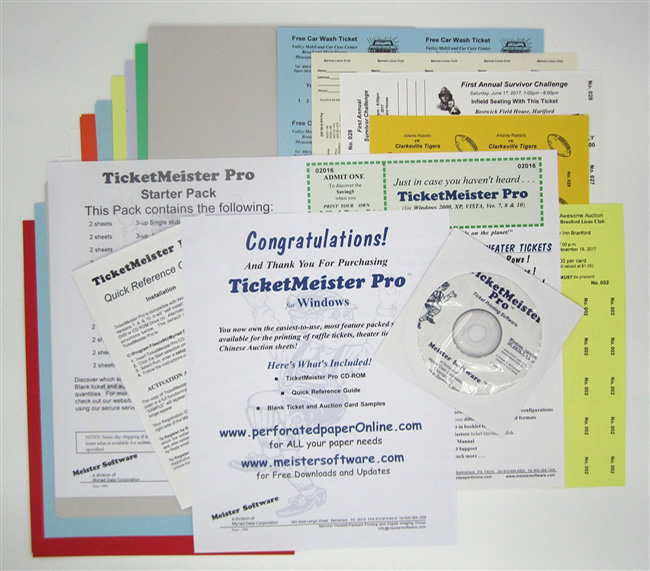
TicketMeister Pro
View Pricing
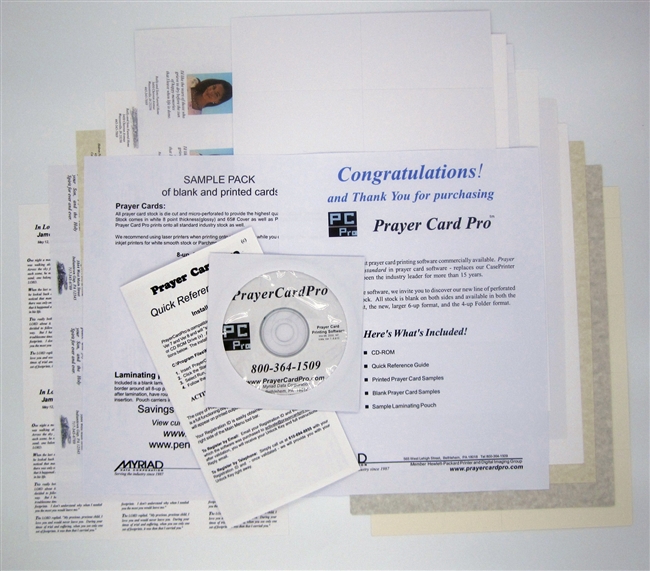
PrayerCard Pro
- Stand alone Windows Program
- 8-up, 8.5″ x 11″ cards (w/ 1″ tear off tab)
- 8-up, 8.5″ x 10″ cards (4.25″ x 2.5″)
- 6-up, 5.375″ x 2.875″ cards
- 4-up, 4.25 x 5″ folders
- Backup and Restore features
- Graphics manager
- Print front and back
- Prayer Manager
- Calendar reference
- Includes 100s of prayers
- Includes 100s of memorial images
- 100’s of templates and samples
- Quick Reference Guide
- FREE tech support
- Download Version Only
View Pricing

MemorialMaster
- Stand alone Windows program
- All standard funeral formats
- Print Prayer Cards, 4-up, 6-up, 8up
- Service Folders and Thank You Cards
- Yahrzeit Calendars and Memorial Programs
- Register Book Pages
- Memorial Bookmarks
- Grave Markers
- Perpetual Wallet Calendars
- FUNERAL Procession Tags (for cars)
- Includes 100s of graphics
- Includes 100s of prayers
- Templates and samples for all formats
- Prayer Database Manager
- Graphic Images Manager
- Network Version available
- FREE tech support
- Download Version Only
View Pricing
Software Downloads
Free Downloads for our software products are available by clicking the Click to Download FREE Demo prompts displayed above.
The Demos are full functioning versions of their respective software programs so that you can add, delete, modify, print and save as many ticket, prayer card, door hanger, etc., formats and layouts as you’d like. Take the software for a test drive to make sure it does everything you want it to do. However, unless the Demo versions are Activated, the word SAMPLE may appear on the printed sheets. Once you install and purchase the software, click the word Activate on the tool bar of the main menu and you will be presented with a 16 digit Registration ID. Simply send the Registration ID back to us and you will receive your Activation Code by return email. NOTE: Activating the Demo versions will NOT in any way affect any formats or layouts that you may have entered and saved before Activating.